 This year we present
a straight-forward fixed pattern flasher for three sets of lights.
However this is not your usual 1 - 2 - 3 chasing pattern, this unit has
six steps, 1 - 1+2 - 2 - 2+3 - 3 - 3+1, and then repeated. If the
three sets of lights are mixed on the tree, it is not that easy to see
the pattern! On the prototype the speed was fixed to about three
steps per second, but it would be a simple matter to put a control pot
on the front panel to set the mood if required.
This year we present
a straight-forward fixed pattern flasher for three sets of lights.
However this is not your usual 1 - 2 - 3 chasing pattern, this unit has
six steps, 1 - 1+2 - 2 - 2+3 - 3 - 3+1, and then repeated. If the
three sets of lights are mixed on the tree, it is not that easy to see
the pattern! On the prototype the speed was fixed to about three
steps per second, but it would be a simple matter to put a control pot
on the front panel to set the mood if required.The triac outputs are driven from zero-crossing opto isolators, which virtually eliminate radio interference. The triacs are hard driven, making the outputs suitable for driving inductive loads such as the modern low voltage transformer driven Christmas lights. The outputs can drive loads of up to 3 Amps (or possibly even more if the PCB tracks are reinforced), making the unit suitable for driving higher powered outdoor lights.
THIS PROJECT OPERATES FROM THE MAINS. MAINS VOLTAGE IS POTENTIALLY LETHAL. DO NOT CONSTRUCT IT UNLESS YOU ARE CERTAIN OF YOUR ABILITY TO DO SO SAFELY.
How it Works
The complete circuit diagram is shown in figure *. The low voltage section of the circuit is powered by a small mains transformer. Although this is slightly more expensive than a mains derived circuit using a dropper resistor or capacitor, it is more reliable, cooler running than a resistor and easier to build.
IC1 (NE555) is the main oscillator. If a variable speed is required, R2 can be replaced with a 22K pot and a 1K0 resistor in series. The output drives the clock input of IC2 (4017), a decimal counter. Outputs Q1 to Q5 if IC2 go high in turn, on a clock pulse. When Q6 goes high the device resets itself due to this line being linked to the Reset pin. The outputs are decoded into the desired pattern by the three OR gates in IC3.
The outputs of IC3 drive transistors TR1, TR3 and TR5, which in turn operate the LED's within the opto-isolators (IC4, IC5 and IC6) and the front panel LED's (D1, D2 and D3).
The MOC3041 opto-isolators contain full zero crossing circuitry, and a triac output stage. They are ideally suited to driving triacs in this manner, since they do all the hard work for you! The LED current for guaranteed operation is 15mA max. Other devices in this useful family include the MOC3040 which needs a 30mA input (it is slightly cheaper), and the MOC3020 which does not have the zero crossing circuit.
The triacs used in the prototype were BT137 types, however most TO220 packaged triacs should be suitable, including C206M, C225M, C226M, BT138, BT139, BTA08-600B etc. If you are likely to be driving inductive loads (or you are not sure) use 600V devices, otherwise a 400V devices are suitable.
The outputs are individually fused. The F-500mA fuses are suitable for normal indoor light sets, but a higher value may be needed for outdoor light sets. Do not use anti-surge fuses (T type, eg T-500mA) since these will not adequately protect the triacs.
Construction.
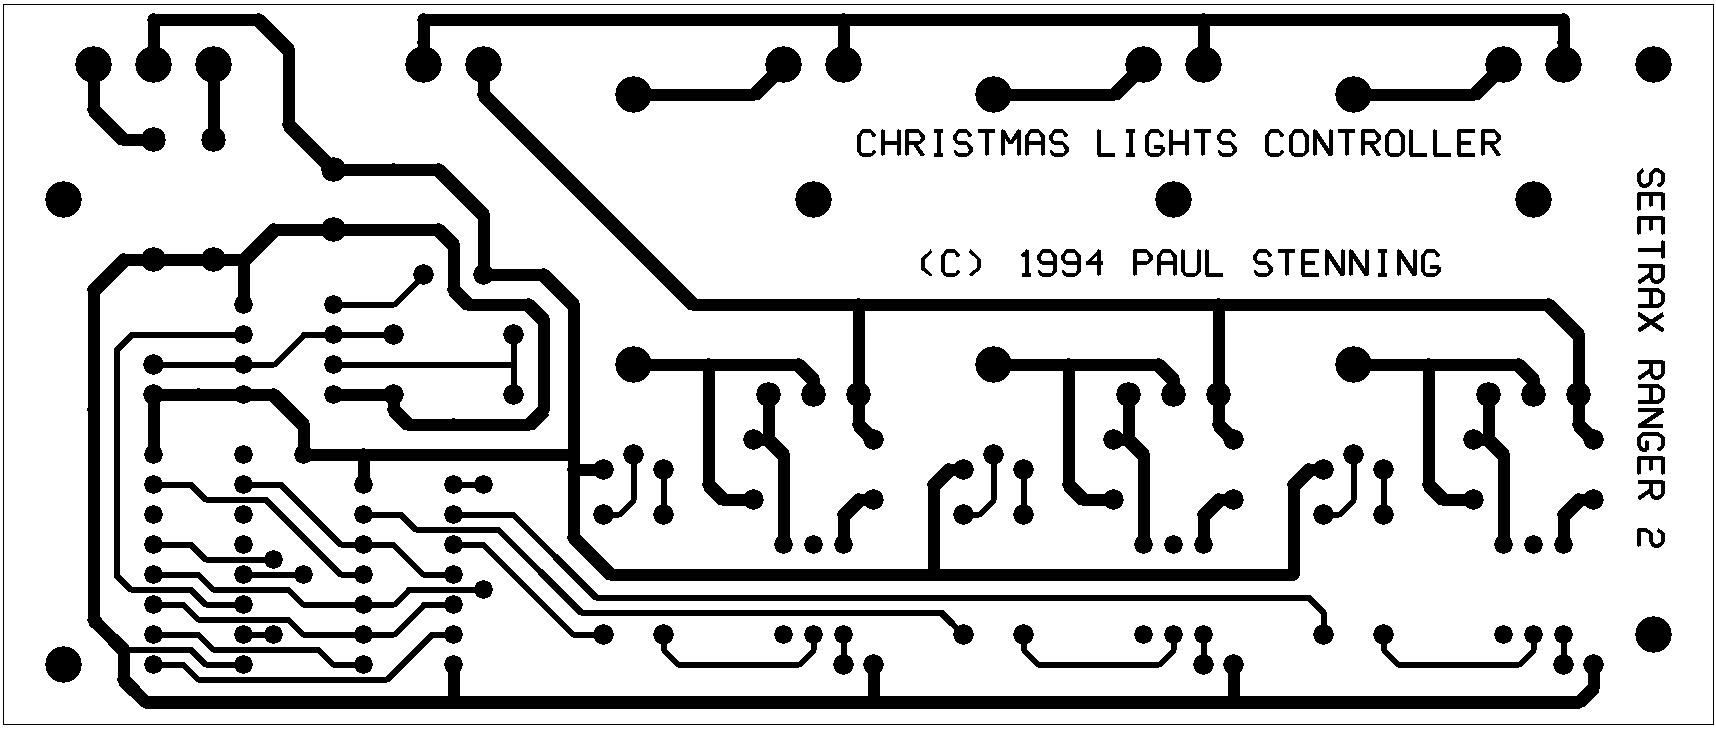
The circuit is constructed on a single sided PCB. Construction is straight-forward, and requires little comment from me. SK1 to SK4, and X1 position are fitted with PCB mounting terminal blocks. LED's D1 to D3 should be mounted about 20mm above the board and bent forward to line up with the holes in the front panel. Don't forget the three short links near IC3.
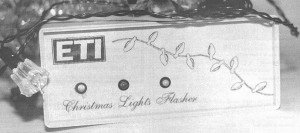
 The
prototype was constructed in a plastic case, 190mm * 165mm * 68mm, see
parts list for details. A suitable overlay for the front panel is
shown in figure *. Two photocopies may be taken (enlarge to 162mm
* 64mm), one can then be used as a drilling template while the other may
fixed to the front panel with clear self-adhesive vinyl (sticky-backed
plastic, as they say on Blue Peter!). Three 6.35mm (1/4") holes
are needed for the LED clips.
The
prototype was constructed in a plastic case, 190mm * 165mm * 68mm, see
parts list for details. A suitable overlay for the front panel is
shown in figure *. Two photocopies may be taken (enlarge to 162mm
* 64mm), one can then be used as a drilling template while the other may
fixed to the front panel with clear self-adhesive vinyl (sticky-backed
plastic, as they say on Blue Peter!). Three 6.35mm (1/4") holes
are needed for the LED clips.For safety the PCB should be mounted on self adhesive standoffs. Do not use metal screws which will be accessible on the outside of the case. Take care to position the PCB so that the LED's will fit through the LED clips in the front panel.
The transformer should be mounted where the leads will reach the appropriate PCB terminals. Nylon screws or some other insulated mounting should be used, otherwise any metal fastenings accessible on the outside of the case must be earthed.
On the prototype, the leads from the Christmas lights were simply bought in through holes (fitted with grommets) in the back panel, knotted to prevent them being pulled out, and connected directly to the terminals on the PCB. Since they only have to be connected and disconnected once each year, I can live with the slight inconvenience! If you prefer, you could mount suitable sockets on the rear of the case, and fit matching plugs to your tree lights.
The mains wires from the transformer and the mains input cable are connected to SK4. The secondary leads from the transformer connect to the X1 terminals, the centre tap wire (normally black) must go to the centre terminal. No earth connection was used on the prototype, since the case is insulated and the lights do not need an earth.
If you choose to add a speed control pot on the front panel of the case, you will need to use an earth connection, and earth the metal case of the pot. The only exception to this would be if the pot had a plastic threaded mounting bush and a nylon shaft.
Testing.
WARNING. POTENTIALLY LETHAL MAINS VOLTAGES ARE ACCESSIBLE WHEN THE COVER OF THE CASE IS REMOVED. DO NOT CONNECT THE UNIT TO THE MAINS UNLESS THE COVER PROPERLY FIXED IN PLACE. ENSURE ANY EXTERNAL WIRING IS CARRIED OUT SAFELY, IF IN DOUBT CONSULT A SUITABLY QUALIFIED PERSON. PLEASE TAKE CARE WITH MAINS ELECTRICITY - WE DON'T WANT TO LOOSE ANY OF YOU!
Do not connect any lights to the unit initially. With the cover in place, connect the unit to the mains, preferably via a RCD or earth leakage circuit breaker. The front panel LED's should flash in the sequence described earlier. If you have added a speed control pot, this should vary the speed as expected.
If all is well so far, disconnect the unit from the mains and connect a set of Christmas lights (or a table lamp with 60W bulb) to each output. Refit the cover and test the unit again. The lights should operate in the same sequence as the LED's.
If this is OK, leave the unit running for about 15 minutes. After this time, disconnect the mains, remove the cover and check that nothing is getting too warm. The transformer may be warm (not hot), but the components on the PCB should be cool.
Assuming all these tests were satisfactory, the unit may be put into use.
In use.
Because of the somewhat delicate nature of Christmas lights, I would strongly recommend the use of a RCD or earth leakage circuit breaker (the type intended for power tools) - particularly if children are about.
To reduce the risk of fire (due to hot lamps coming into contact with decorations or wrapping paper), the lights should be switched off at night and when no-one is around. There's no point in wasting the electricity anyway!
Do not be tempted to compromise on the safety of your wiring, just because it will only be used for a few weeks. If you must use terminal block connectors to extend cables, cover them in a generous quantity of insulation tape.
Do not use indoor lights outside, purchase a proper set of outdoor lights.
The above precautions apply whether or not this flasher unit is being used. Statistics show that the number of accidents in the home increase around Christmas time. Please don't be a statistic.
Parts List
Resistors (all 0.25W, 5% or better)
R1,2 10K
R3,7,11 22K
R4,8,12 470R
R5,9,13 100R
R6,10,14 270R
Capacitors
C1 10uF 16V radial elect
C2 10nF Ceramic disk
C3 220uF 16V radial elect
Semiconductors
IC1 NE555
IC2 4017
IC3 4075
IC4,5,6 MOC3041
TR1,3,5 BC548
TR2,4,6 BT137 (see text)
D1 Yellow LED
D2 Green LED
D3 Red LED
D4,5 1N4001
SK1,2,3,4 2 way 0.2" PCB terminals
X1 3 way 0.2" PCB terminal
FU1,2,3 20mm PCB fuseholders
with F-500mA fuses
X1 6-0-6V 100mA (wire ended)
The plastic case used for the prototype is made by Bafbox, and is available from RS/Electromail, stock no 506-788.